Okay, I have a confession. I buy crescent rolls from a can. Sometimes. I know, I know…. Probably only twice a year. My son loves them and I admit I kind of like them too. I know I preach about not buying cinnamon rolls from a can so I feel kind of weird admitting this. Wednesday I accidently forgot to buy the can of rolls; and there was no way in heck I was going to maneuver the gauntlet store on Thanksgiving day just for a can of silly rolls. I always have packages of yeast in my cupboard, so I did what I should have planned from the beginning. I made rolls from scratch, and I’m so glad I did.


proofed, pillowy soft, and ready for the oven…

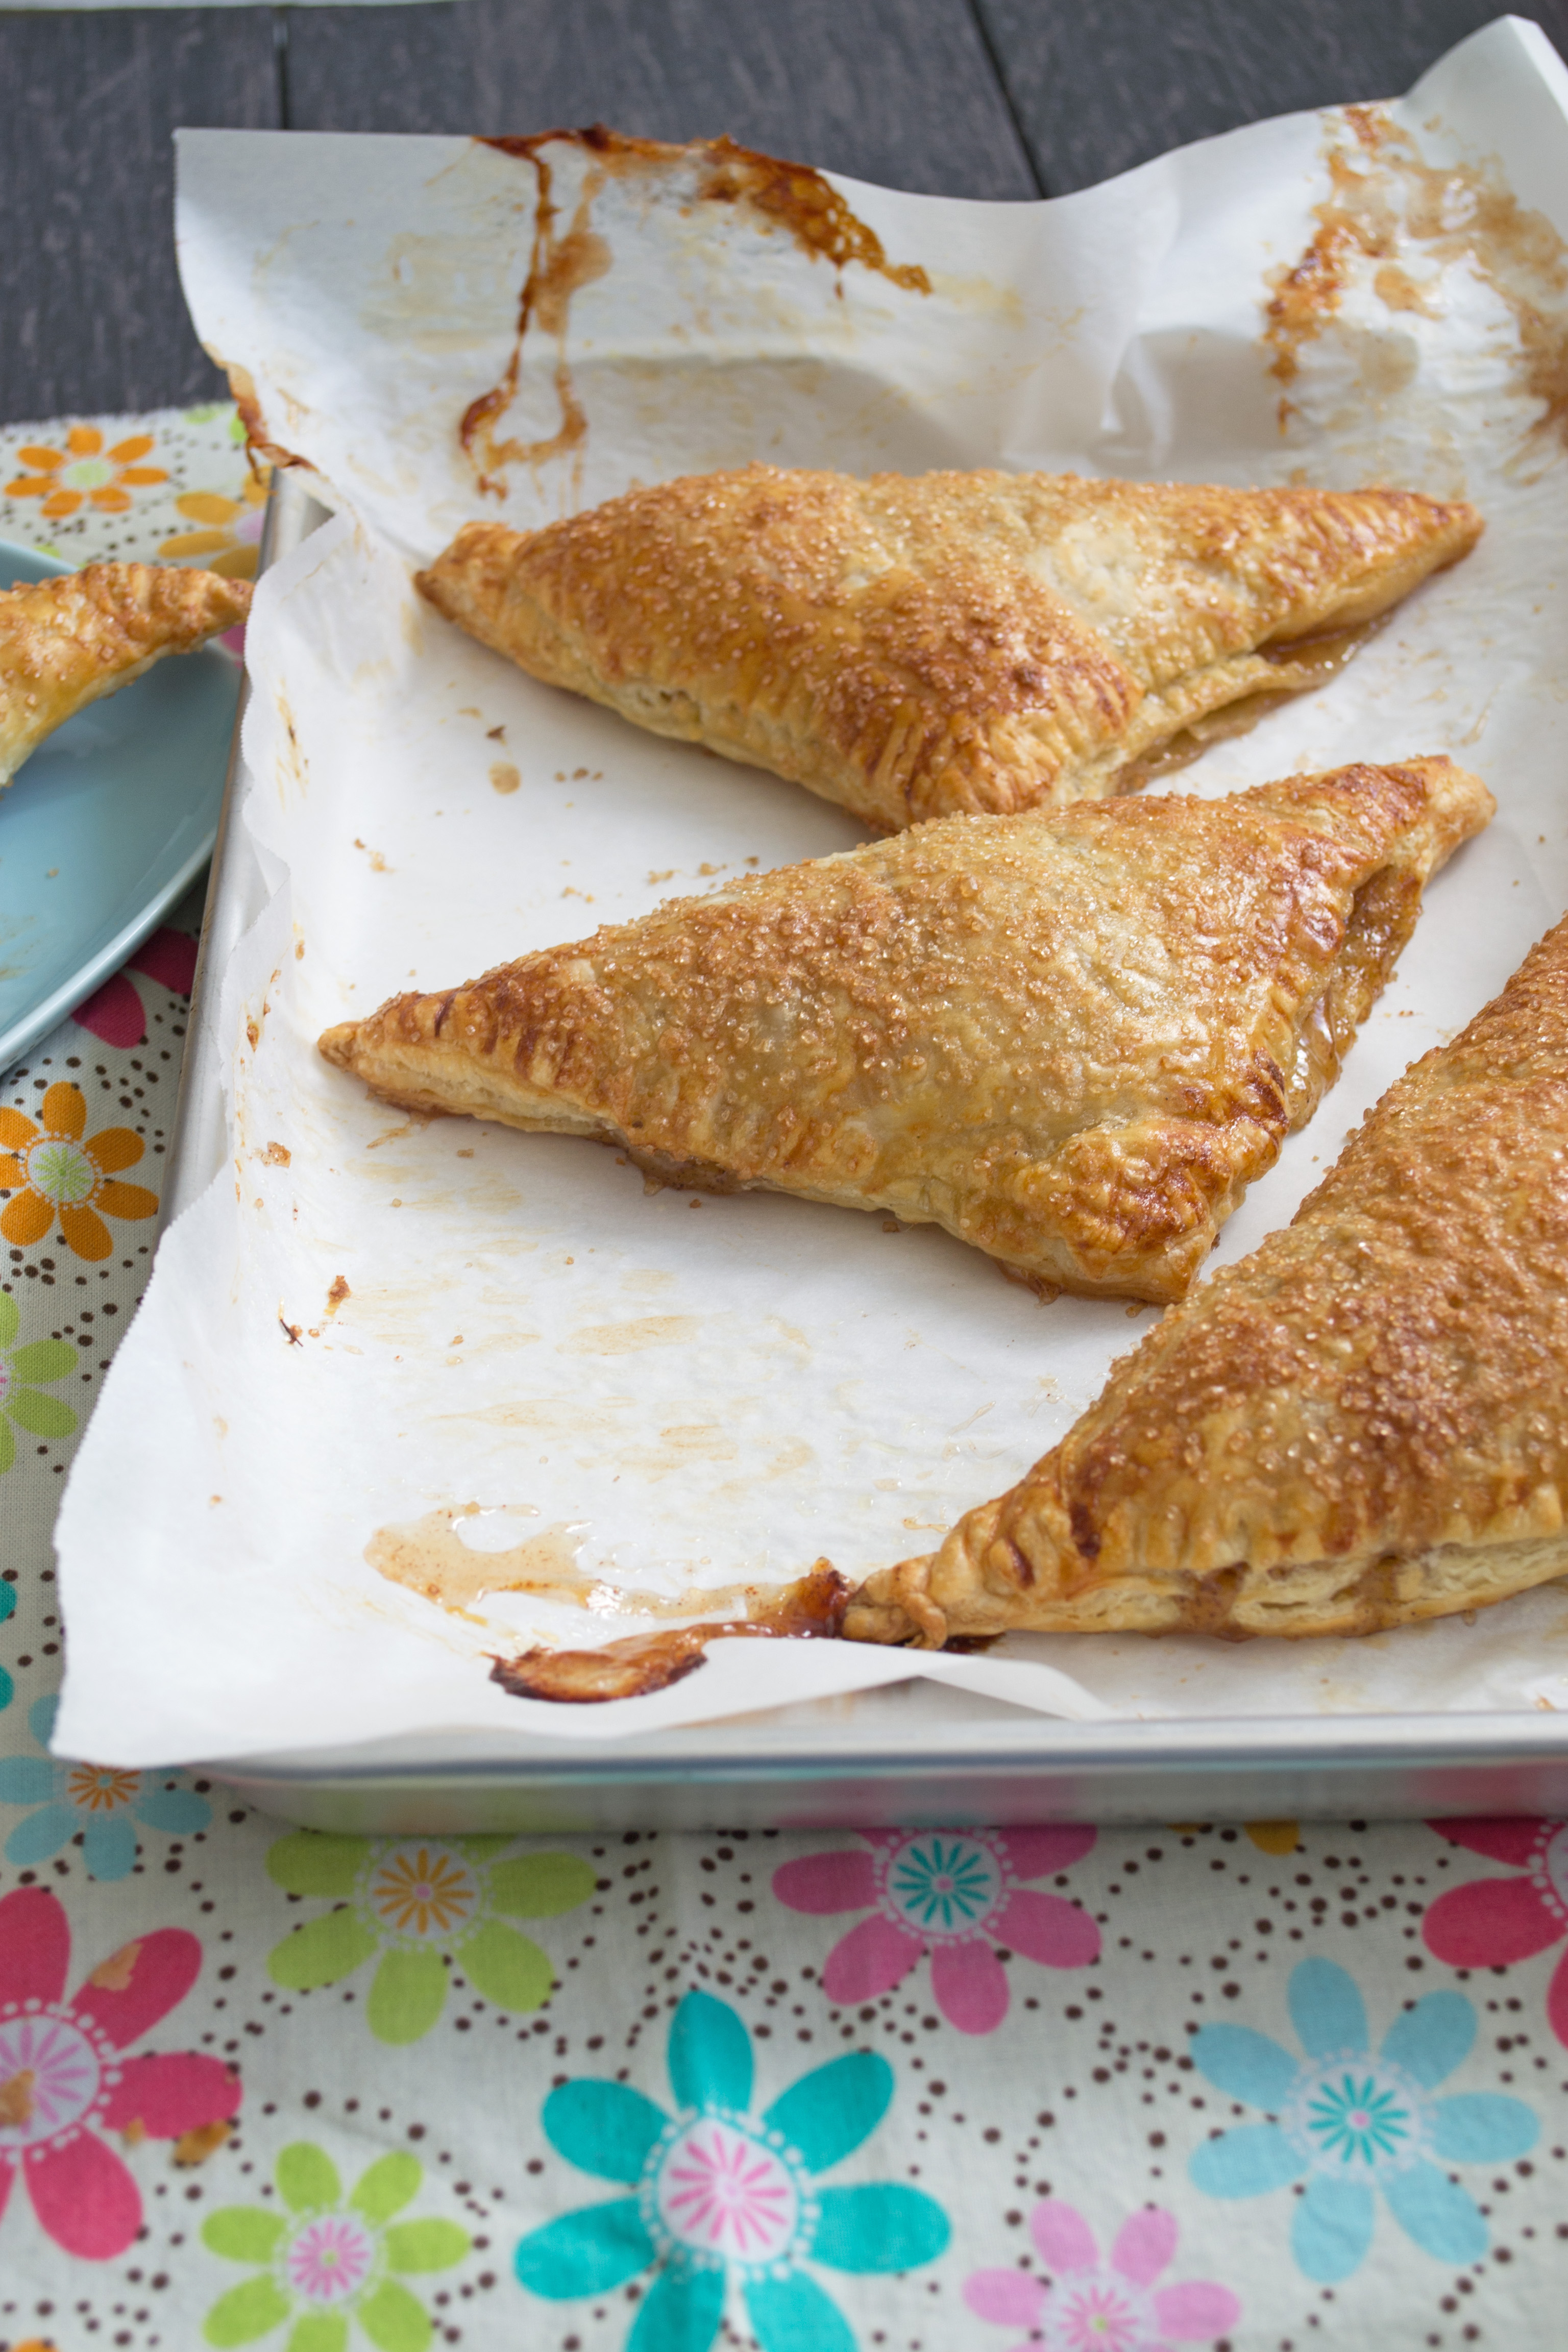
out of the oven and ready for melted butter to be brushed onto each one…

Crescent Rolls
original recipe from: thekitchenmccabe
yield: 24 rolls
3/4 Cup milk (2 % is fine)
1/2 Cup unsalted butter, divided
1/2 Cup (scant) sugar
1/2 an egg: (whisk and egg w/ a fork in a small bowl, then use 1/2-comes out to about 2 Tbsp. if you measure it).
4 1/2-5 1/2 Cup flour, divided
1 1/2 tsp. salt
1 Tbsp. active dry yeast
1 Cup warm tap water
1 1/2 tsp. sugar
1. In a small saucepan combine the milk, 1/4 Cup butter, and scant 1/2 Cup sugar until the milk is very warm (scalded) but not boiling. Pour this mixture into the bowl of a stand mixer.
2. To the mixer: Add 1 C. of flour, 1 1/2 tsp. salt, and the 1/2 egg to the milk mixture and quickly stir together with a dough hook attachment. Attach the dough hook to the mixer and turn on to low speed to help the mixture cool down while you quickly prepare the yeast
3. To prepare the yeast: in a small bowl combine the 1 Tbsp. yeast, 1 Cup warm (not too hot-or you will kill the yeast) water and 1 1/2 tsp. of sugar. Stir quickly to combine then let sit for about 5 minutes or until the mixture bubbles and appears foamy. Once yeast has bubbled, add it to the mixer bowl and continue to mix on slow/stir mode while you prepare to add remaining flour.
4. Add 3 C. of flour and mix together on medium/low speed. When mixed together, slowly add in enough remaining flour a little at a time until the dough is just slightly sticky. The dough should gather around the dough hook.
5. Prepare a large bowl greased with butter. (I used the paper from the butter to do this). Scrape the dough into the prepared bowl and cover lightly with plastic wrap and sit in a warm place to proof until mixture appears to have doubled. This should take about 40 minutes.
6. Divide the dough into 2 equal parts and roll each ball into a circle on a floured surface so that the thickness is a little less thick than 1/4 inch. Rub the circle with 2 Tbsp. of softened butter. Cut the circle into 12 equal wedge portions (like you would a slice of pizza). Roll each wedge crescent style starting from the back edge and place on a greased baking sheet. You want the tip end of the rolls turned under when you place them on the sheet pan. Place rolls on sheet pan so that across you have 3, and length wise; 8 deep. Prepare and roll out the 2nd ball of dough the same, and place rolls until all 24 rolls are placed on sheet tray. Curve the ends of the rolls forward slightly. Cover tray lightly with plastic wrap and let rolls rise until doubled. The rolls will push each other and touch until snug. This is what you want.
7. Bake the rolls in a preheated 350° F oven for about 15-20 minutes or until rolls are just turning lightly golden. Remove from the oven and brush top of rolls with melted butter. Let cool and serve warm or at room temp.