
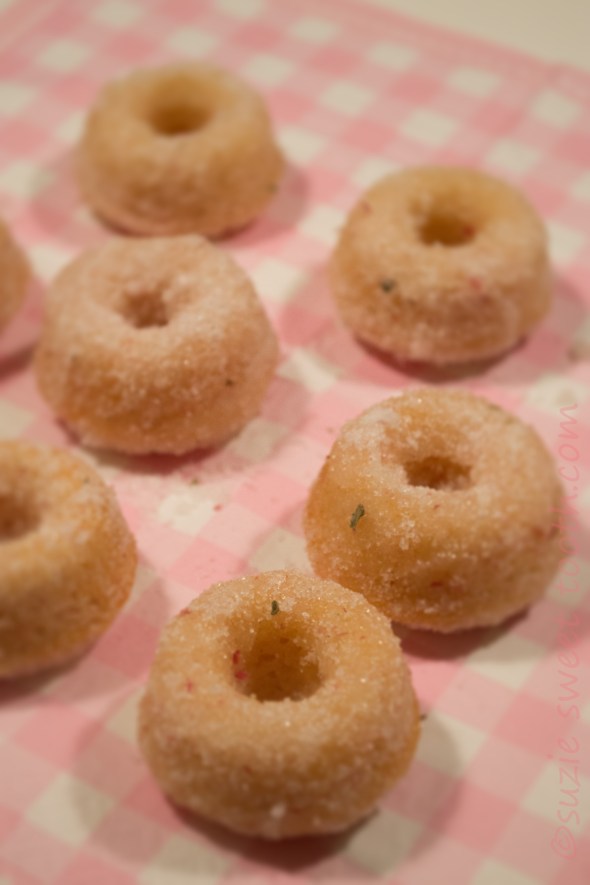
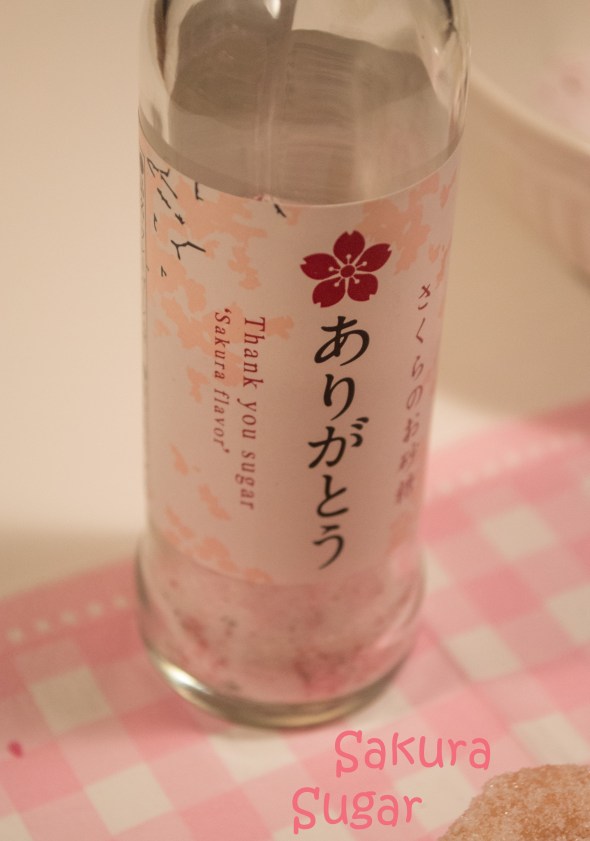
Sakura sugar is sugar blended with cherry blossom flowers. I can’t even begin to tell you how amazing this sugar is. I know I needed to make something simple to let the sugar be the star. Simple baked donuts. Light, infused with cherry flavor and tossed in this amazing sugar. Now I know most of you will not be able to get your hands on this sweet sugar, so I included a version for cherry glaze that you can dip the tops of the donuts in. Enjoy~

cherry glazed version
Baked Cherry & Sakura-Sugar Donuts
recipe: adapted from Doughnuts by Lara Ferroni
3/4 Cup all purpose flour
1/4 Cup pastry flour
1 tsp. baking powder
2 tsp. dried cherry powder
1/3 Cup super fine sugar
1/4 tsp. salt
2 Tbsp. unsalted butter
1/4 Cup whole milk, scalded
1/4 Cup plain yogurt
1 tsp. vanilla
1 egg, beaten
dried cherries, diced (optional)
Topping:
melted butter
Sakura sugar
Cherry Glaze Topping:
1 Cup confectioners sugar
~ 2-3 Tbsp. cherry juice
1. Prepare a mini donut pan by greasing lightly with oil. Preheat the oven to 350 F.
2. Sift the flours and baking powder together into a large bowl or the bowl of a mixer. Whisk in the sugar, dried cherry powder, and salt. Add the butter and use your fingers to rub it into the dry ingredients as you would in making a pastry crust, until even distributed. Add milk, yogurt, vanilla and egg and stir until just combined. Fold in dried cherries (if desired). Do NOT overmix or your donuts will be rubbery.
3. Using a piping bag or small spoon, fill each doughnut well until about 3/4 full, making sure each center post is clear. Bake until light golden brown and donuts spring back when touched, about 8 minutes. Let cool slightly before attempting to remove from pan.
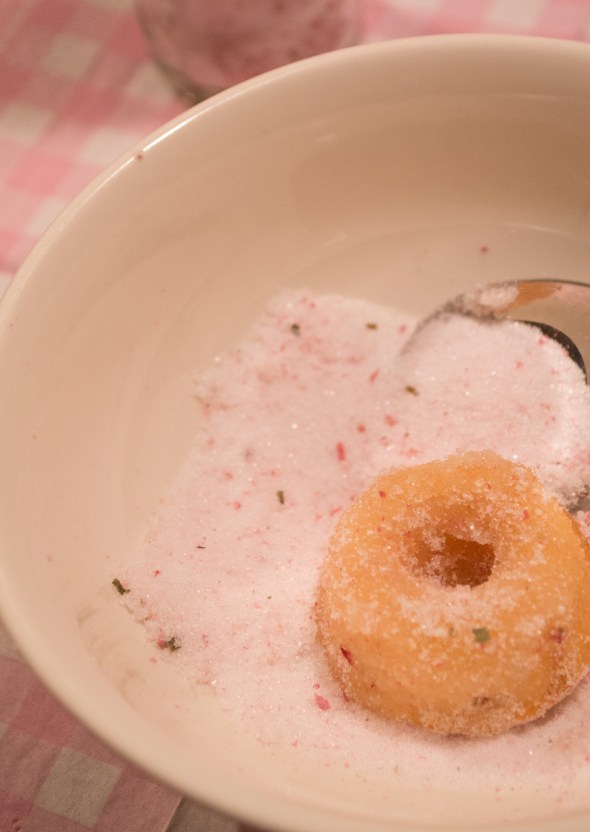
4. For sugar coated: dip each donut into melted butter and roll in sakura sugar.
5. For cherry sugar glazed: mix the confectioners sugar and cherry juice until desired consistency (you are looking for thickness like heavy cream). Dip top of each donut into glaze and let set up over a wire rack. Sprinkle with decorative or sakura sugar.


