• The Homer Project. (My Sourdough Starter)

    A few years ago I became obsessed with making sourdough bread. I started reading anything and everything I could get my little hands on about the sour.  I lived in San Francisco for a little over 14 years, and the sour was calling me. Like for real, screaming at me Holla girl, holla back.

    Back in my SF days I had my favorite bakery brands of course and became somewhat of a sourdough bread snob. The outside had to be hard and crunchy, with a dark- almost mahogany color, yielding to a ridiculously soft holey matrix of pockets of love that when slathered with mayo for a sandwich, or dipped in good olive oil would be nirvana at every bite. Those who are “sour lovers” know exactly what I’m talking about. If you’re a sour fanatic it’s not crazy to go to 2 or even 3 stores before you find “your brand”. Weirdness, but in a good way. Even my son is a sourdough bread snob. He likes the cracked wheat version and would go days on end where his choice of breakfast would be only dark toasted pieces slathered with unsalted butter and a generous pinch of kosher salt.  Yep, he’s definitely my kid. I still crave cracked wheat sourdough toasted/butter slathered/salted slices whenever I’m sick and need comfort food, there’s nothing better than a runny egg atop a slice of buttered, salted toasty slice.  Back to my dark crusty version obsession….. So living in Arizona is not exactly the mecca for sourdough bread (uh duh) and one day I was craving, and I mean CRAVING those loaves I used to buy in San Francisco and it got me thinking, it’s time to start making my own. My first attempt failed; even after following the directions to a T my starter died after a week. I was crushed and couldn’t figure out what went wrong so I took to the interwebs of course where I soon found a plethora of so called tried and true recipes. After with experimenting with various trials, including the pineapple juice bit in the starter; it worked for a minute, but then gave way to failure, so after MANY trials, I have come to the conclusion (for me) that adding in small amount of dark rye flour to the starter in the beginning and feeding it along the way with a combo mix of bread flour and rye flour was the key to success. Mind you; your bread will not take like rye in the final result; so don’t panic if you are not fond of rye. There’s something about the rye that just was the key for me. 

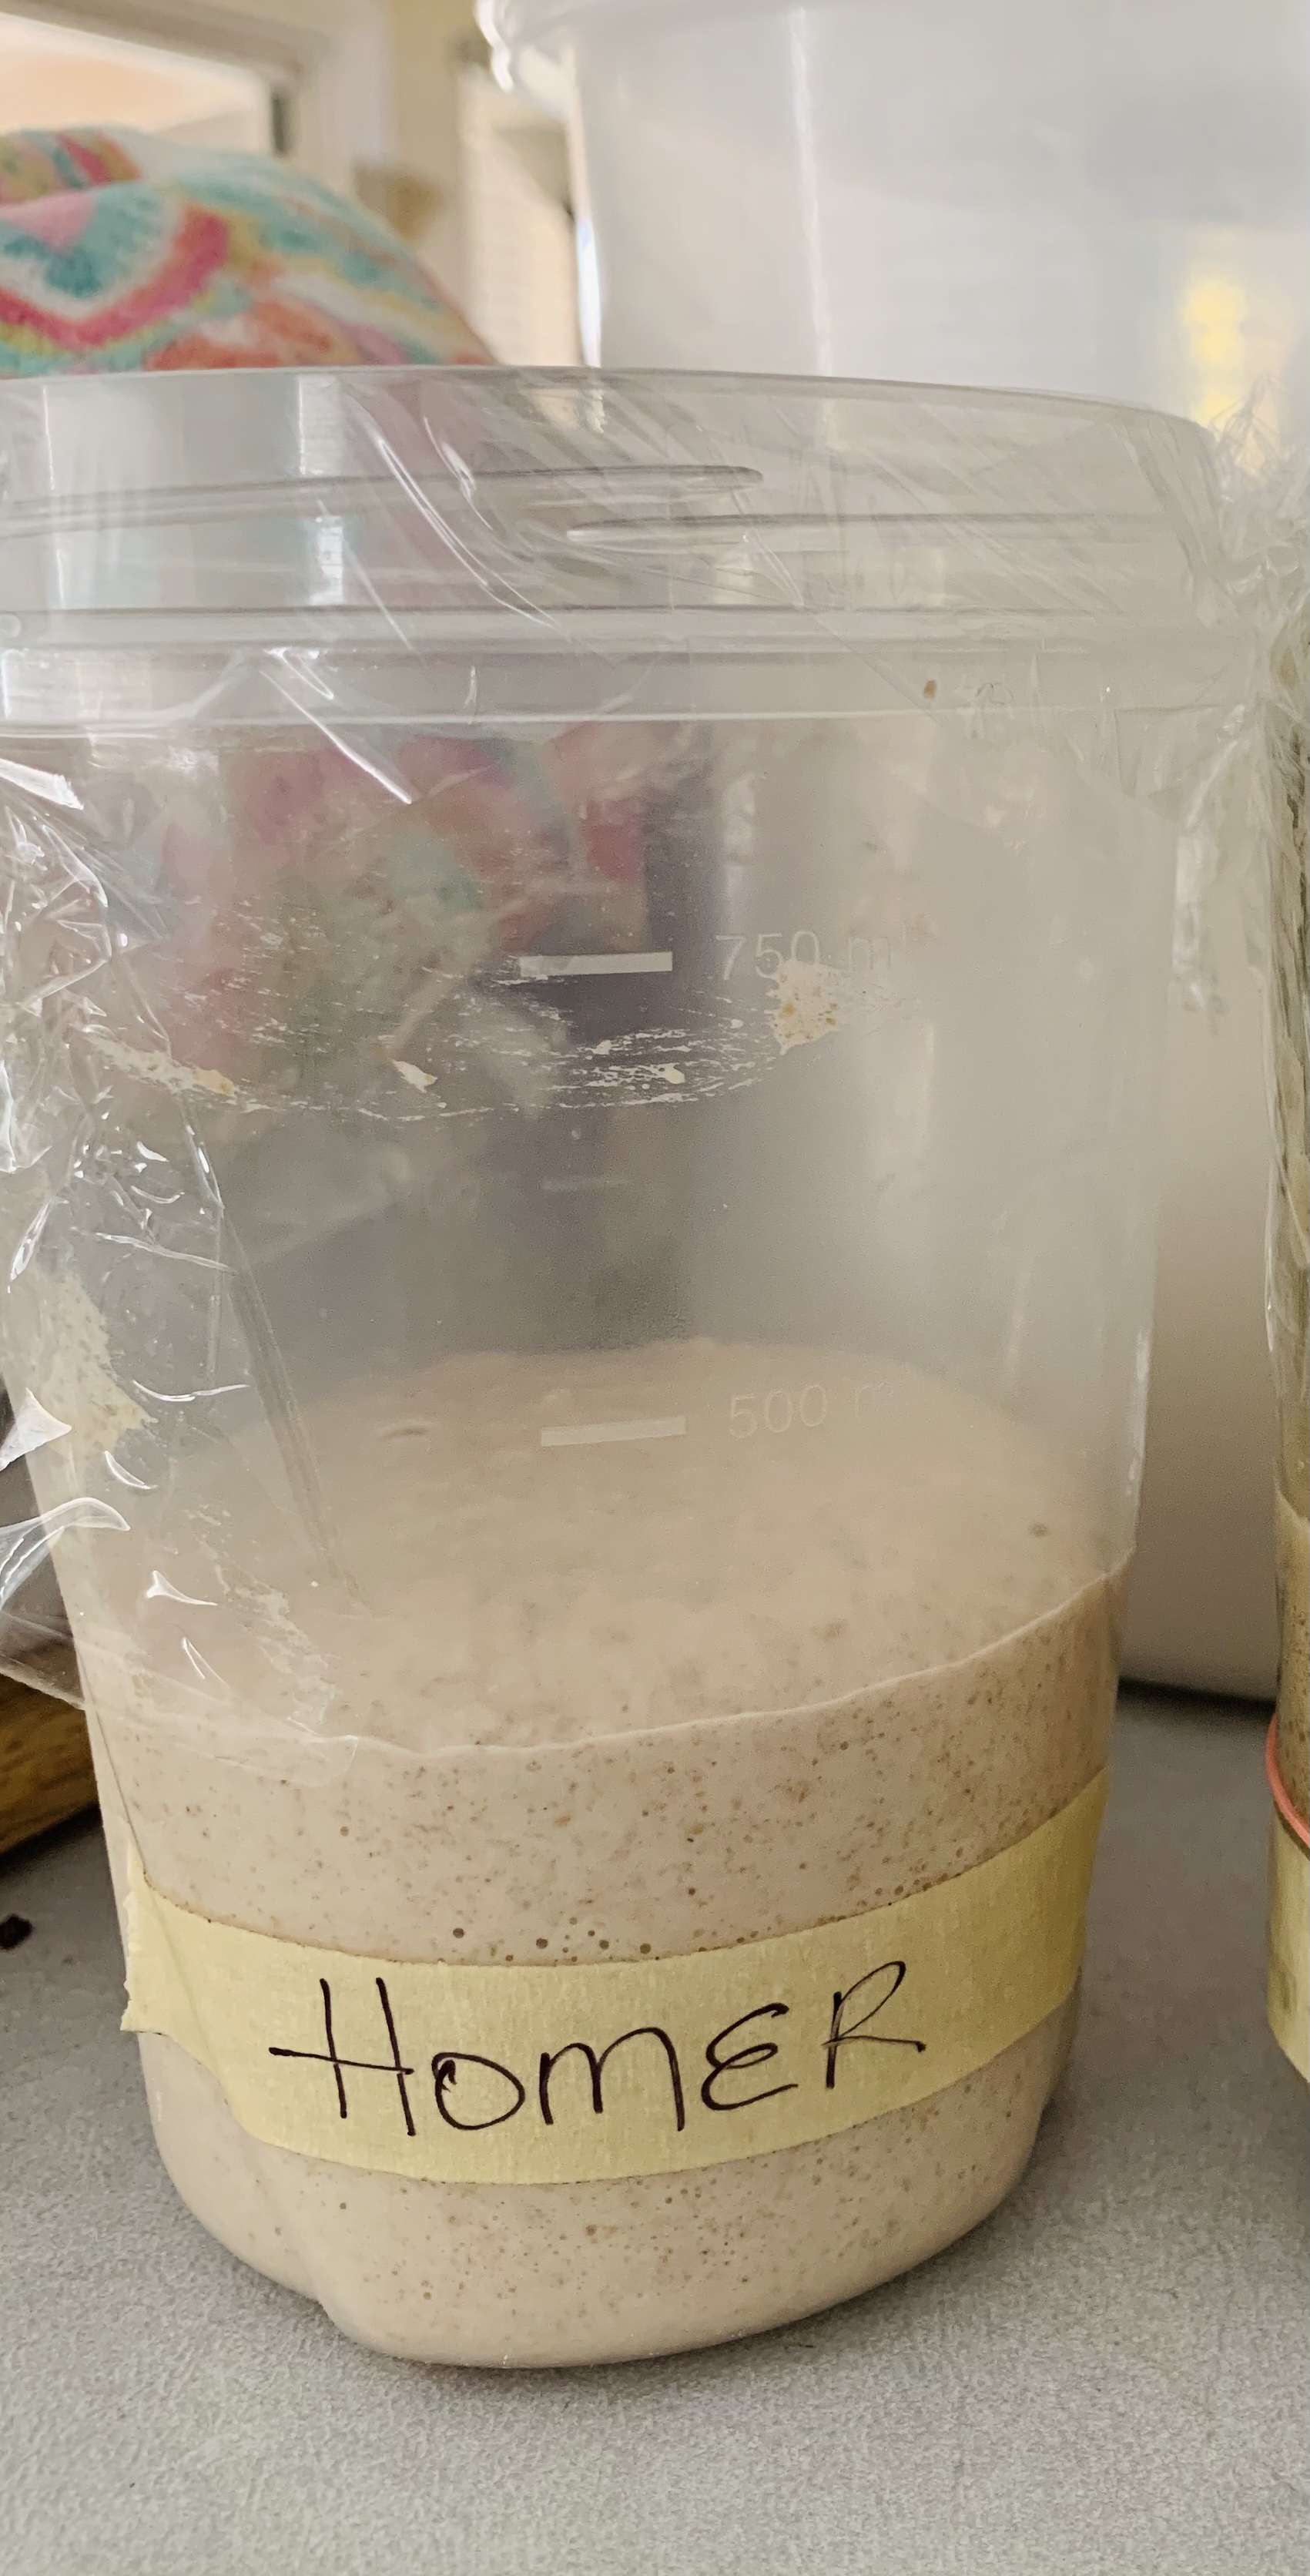
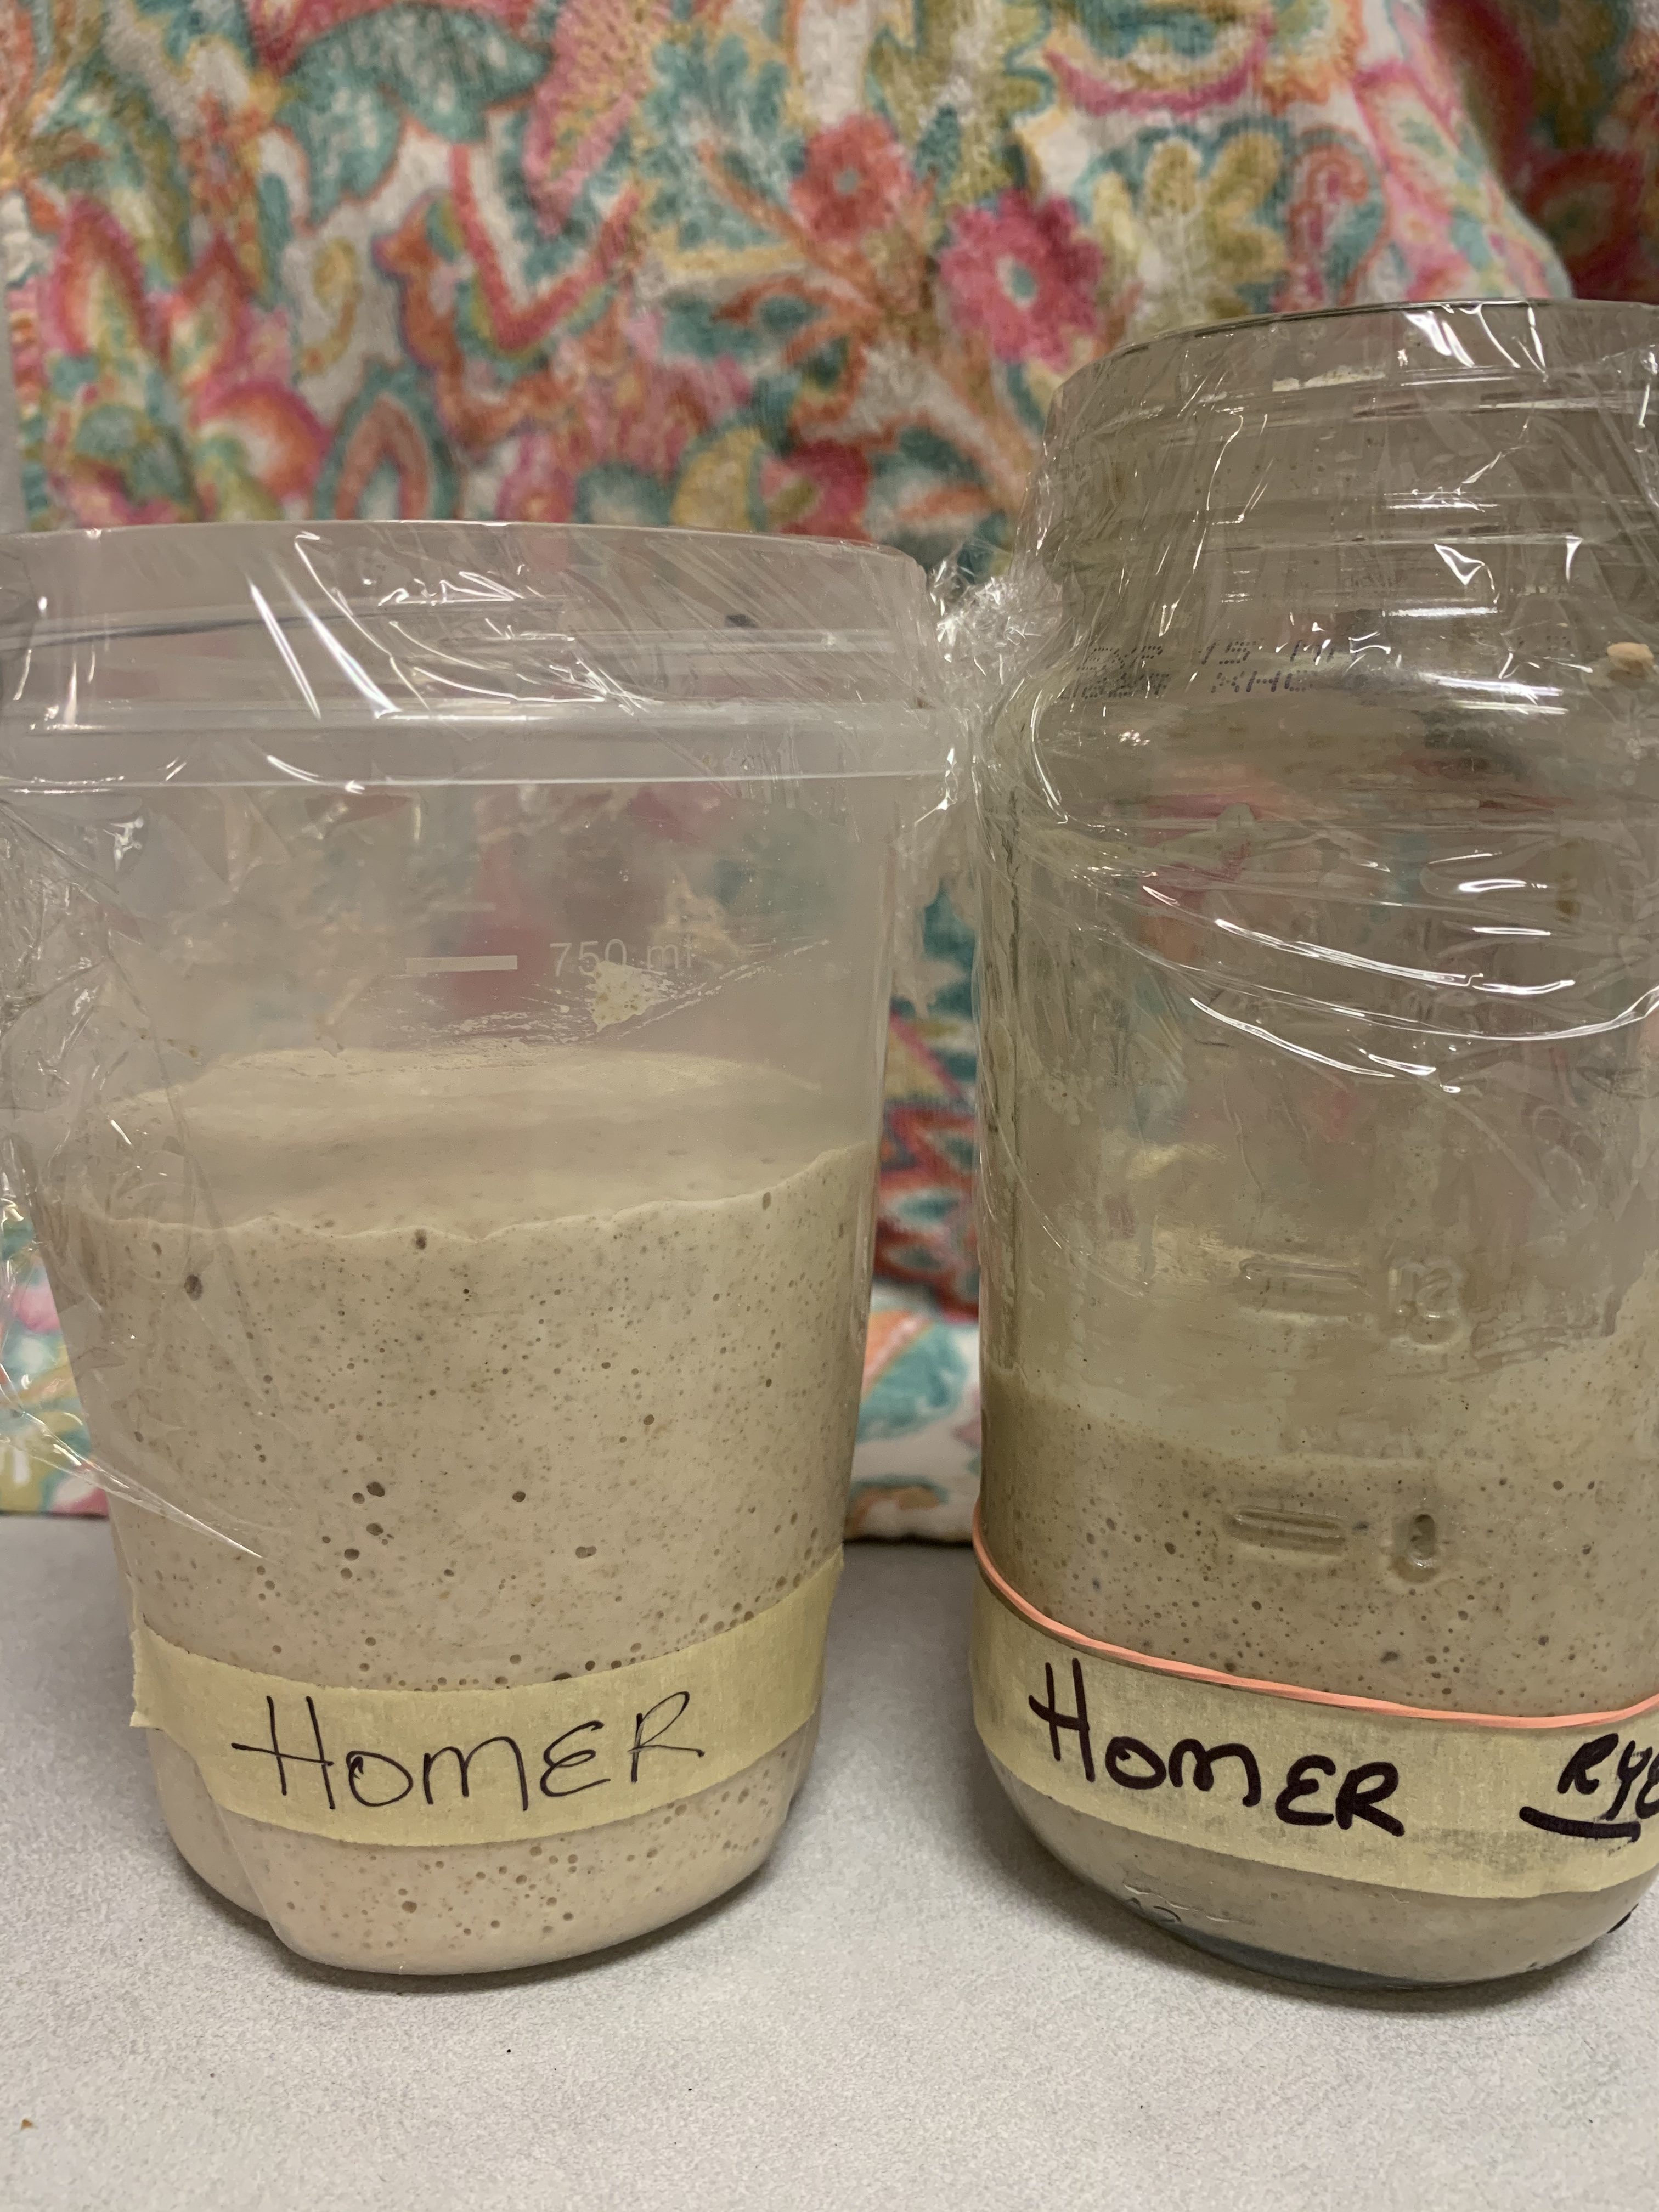
    I decided I needed to name my little sour project, cuz you know, it’s way beyond personal at this point. I’ve heard/read people name their starter all the time. It reminded me of the chapter in one of Anthony Bourdain’s book where he describes how his cook had named his starter “The bitch” and whenever the cook was hungover or couldn’t come into work he was known to call in and scream hearfelt messages demanding that “Make sure someone feeds the bitch!” Some people call their starter the Mother and some call it their bitch. Mine, I decided it needed a different spin; so I named mine “Homer” after Homer Simpson since he’s always saying “Doh!” it seemed appropriate. Well, I went about parking Homer on the counter, and then in the fridge and people cruising through the kitchen would ask, what are you doing. Uh duh... I’m feeding Homer of course.  At the time when Seth was still in high school we would have several guys and gals roaming in and out through our kitchen. Yes, they made fun of me. Yes, they thought I was a bit nuts. Yes, they assumed it wouldn’t work. Until….I made my first loaf and they tasted it. The crust was perfection. It had that dark crispy, crusty, crunchy mahogany like brown color I had dreamed of. The interior was full of a soft matrix of holey goodness with the perfect amount of chew. I made my first loaf for dinner one night. I sliced it while still warm and slathered it with butter and of course sprinkled some kosher salt flakes on top.

    Seth, my sour loving child of mine was in awe of what I had created. Here’s how it played out. The silence after the first bite…..then the eyes rolled back into his head, and then the wide eyed LOOK at me/side glance followed promptly by the low baritone moan from his soul after taking another bite while the melted butter rolled out of his mouth after he ripped into the slice for another bite. The Husband was pretty much a carbon copy skit when he took a bite as well. You can imagine that loaf didn’t last very long. It was devoured by the next day. I knew I was onto something. Soon- they no longer made fun of my dear Homer. Homer was respected, and even revered with queries even of “How’s Homer doing?” as I laid him to a sweet slumber, sort of, back into the fridge as I cared for him and continued to “feed” him with little bits of flour and water while he napped lovingly back in my fridge awaiting his next performance when he would be ushered onstage again to yield another dear wonderful loaf of goodness.  Homer was so beloved that discarding him day after day was a bit hard, so I decided to give one of my discards to my neighbor who is an amazing cook on her own and aptly named it “Marge”.  

    Homer 

    Day one: The start

    Mix very well in a large Mason Jar or container:

    100 g filtered water (I always use room temp)

    50 g of bread flour 

    50 g of rye flour 

    Mix very well and again cover loosely with your same paper coffee filter or plastic wrap. Let sit another 24 hrs….

    Note- I like to mark my jar or container with masking tape, lining up the top edge of the tape flush with the level of the starter after mixing. If you have rubber band you can also do that. 

    Day two:  Observe…

    [You may start to see some small bubbles form], if you don’t it’s okay. Allow the starter to rest for another 24 hours and day three we will start to “feed”. 

    Day three (24 hours later) 

    Whether bubbles are visible or not, it’s time to start feeding our starter. Remove and discard half of the overall starter, and in a new clean jar.:::

    Add in 100 g of filtered water (always room temp),

    along with 50 g of bread flour,

    25 g of whole wheat flour, and

    25 g of rye flour.

    Mix well  with a spoon, or in my case, I use a chopstick. Cover with plastic wrap loosely. Let sit on the counter at room temperature. Note; it you want to do all rye flour or all whole wheat flour it’s perfectly fine and up to you. I decided I like this particular combination most often. 

    Day four,five, and six.  

    12 hours apart continue to feed (I like to do mine at 10 Am, and 10 Pm). 

    Stir the starter well- then, remove /and discard half of the starter and continue to feed  (in a clean jar each time) with the same quantity 100 g filtered water, 100 g of flour as above in day three with the mix of 50/25/25.

    Continue to le/t it sit out on the counter at room temperature. If you have a rubber band- I like to place it around the outside of the jar to gauge how much your starter has grown in size.

    Once it reaches the peak stage of doubling, I feed it once a day. If you don’t plan to use it right away, you can park your starter in the fridge and feed it once a month. 

    Day seven. 

    By now you should be seeing some activity in the way of rising/doubling in quantity, falling, and large bubbles on the surface of the starter in the jar when looking down into the jar. You may see some liquid that rises to the top on the surface of your starter. This is called “Hooch” and simply just stir it back into the starter. Some people feel that you should discard this, but frankly I don’t see the difference or point of it; having done both and honestly, I’m lazy; so it’s just one more thing I don’t need to obsess about. I’d like to note that each time I discard/feed I am using a clean jar. I find that it’s best to clean the jar right away as well after you discard as if you don’t it can be quite challenging to get it clean. If you’re hurried for time, at least fill up the jar of the discard /previous day’s with water and let it sit in the sink so it’s easier to scrub. Once your starter has reached peak level with evidence of good fermentation it is ready to be used as levain to be mixed in the initial stage of making bread. You can make sourdough or even other types of bread. One of my favorites is a bread called Pain de Campagne, which is a French country loaf type of bread and I absolutely love the flavor. It makes amazing toast and has a denser crumb than the open holey crumb of a sourdough. 

    Here he is at peak volume- he has more than doubled in size; notice the large bubbles.
    This photo was actually taken about 8 hrs after he was fed. The original start volume was at the line of the top part of the tape.
    I have an all Rye version to the right of original Homer, here you can see Homer has risen to double or more of the original volume.


  • Pumpkin Cream Cheese Muffins

    Just like the ‘You know who’ coffee shop without having to get dressed, because muffins taste way better in your robe and slippers. It’s a fact…

    So, are we tired of pumpkin treats yet? Nope. Can’t stop, won’t stop. At least for a while, or until Christmas, or my cravings start for everything peppermint candy cane related. I just don’t get you non-pumpkin people, I mean- seriously what planet are you all from? HaHa. #sorrynotsorry.

    I know that’s a bit harsh. Okay; but hear me out-I have a friend who told me she was not a pumpkin person. She knew I was in charge of (always) bringing the Birthday cake, and I told her ahead of time it was going to be making my pumpkin orange spice. I could tell by the look on her face she was not thrilled of the fact, but she said, well you just make it because it’s not for me anyways. I still felt bad though and told her; well I still want you to try it, because it’s one of my most popular cakes. The day comes of said Birthday party, and she not only liked it, but she loved it! So, you never know-as my Mother used to say, “Try it, you might like it”. The molasses in the recipe adds a little color to the muffins so they have a deeper color. I also decided to do half oil and half butter; you could do all oil, but I like that the butter adds flavor, and the oil adds another moisture assurance so when they are eaten at room temp, they remain light and moist. The great thing about anything pumpkin pastry related is; you have a ‘no dry muffin- insurance proof gift’, unless you totally overbake them and mess it up, so if you like a moist (I know-sorry) muffin give these a try!

    Don’t flake on making the sugared pepitas as they make the muffin sing with their distinctive crunch and contrast to the soft muffin, and they literally only take a few minutes to make.

    Sugared Pepitas

    1/4 cup pepitas

    1 Tbsp. water

    2 Tbsp. granulated sugar

    1 conservative pinch of pumpkin pie spice

    In a small nonstick skillet place all the ingredients and stir continuously over low heat with a heat proof spatula until the pepitas are dry and crystalized with the sugar. Stop shy of them getting just almost browned as they will brown in the oven a bit when baking the muffins. Tumble them out onto a silpat or piece of parchment paper lined baking sheet or plate to cool copletely.

    Cream Cheese Filling

    4 oz softened full fat cream cheese

    2 Tbsp. granulated sugar

    1/4 tsp. vanilla

    1 tsp. cream or whole milk, or half/half

    1 tsp. flour

    tiny pinch of salt

    In a small bowl mix together with a small spatula or spoon until mixture is lump free and cohesive. Fill a small pastry bag and set aside until ready to bake.

    Pumpkin Spice Muffin Batter (make 9 standard sized muffins)

    1 1/2 C all purpose flour

    3/4 C, plus 1 1/2 Tbsp granulated sugar

    1 tsp. baking powder

    1 tsp. baking soda

    1 1/8 tsp. pumpkin pie spice

    1/4 tsp. kosher salt

    wet ingredients:

    1 1/4 Cup plus 2 Tbsp. pumpkin puree

    1 Tbsp. unsulfured molasses

    1 large egg

    2 Tbsp. vegetable oil

    2 Tbsp. melted unsalted butter, cooled

    1 tsp. vanilla

    Preheat oven to 400 degrees F. Line a muffin tin with 9 muffin paper liners.

    In a large mixing bowl place the dry ingredients and whisk with a fork to combine. Set aside while you mix the wet ingredients:

    Mix together the pumpkin puree, molasses, egg, vegetable oil, melted butter, and vanilla until combined. Make a well in the dry ingredients and dump all the wet into the dry and mix with a spatula until combined. Divide the pumpkin batter evenly amound the 9 paper liners, then snip about a half inch sized hole in piping bag of the cream cheese filling and poke into about halfway into the pumpkin batter of each well and pipe a dollop of cheese filling moving upwards as you pull up. If one well seems like it has more, just go back over and add a bit more so each appears even. sprinkle the sugared peptias generously along the outside perimeter of each pumpkin batter area of each well.

    Bake the muffins x 10 minutes, then immediately drop the oven down to 350 degrees F, and contunue to bake fo r another 12 mins (the burst of higher heat at the beginning will give your muffins and nice round top). Dont’ overbake; the muffins are done when you poke a wooden skewer diagonally into the pumpkin side, and it returns a few moist crumbs. Remove the tin and allow to cool over a wire rack until cool.

    Quick note; I baked this in white paper liners and I did not take my pictures until the following day when I noticed my liners had turned an unappealingly orange brown color, so either use a darker color; preferably brown or natural tan liner, or no liner at all.

  • Pumpkin Spice Cookie Thins

    These are so good with a warm cup of cider or cinnamon tea. Harney and Sons makes a hot cinnamon sunset tea that is perfect with these. They are a superb pair with a sniff of brandy too. They are crisp, packed with flavor and the recipe is super simple and comes together quickly. I am in my pumpkin baking phase right now which won’t be ending any time soon. These are great to bring to a potluck as they are something different to the usual pumpkin fare, and they are not messy. I like to make the dough ahead the day or two and let the flavors mingle. you can even form the dough into 2 logs and slice and bake instead of rolling out the dough if you’re feeling lazy. If you want to be even more festive a pumpkin shape cookie cutter would be quite cute. I chose to roll the dough out to get perfect circles.

    Pumpkin Spice Cookie Thins

    (yield: 2-3 dozen depending on size) 

    1 Cup unsalted butter, softened

    6 Tbsp. confectioners sugar

    1/3 Cup honey

    3/4 tsp. vanilla bean paste

    2 /12 Cups flour

    1/2 tsp. kosher salt

    3/4 tsp. pumpkin pie spice blend

    1. In a stand mixer with paddle attachment cream together the butter and sugar until fluffy. Add the honey in a slow stream and mix until combined. Add the vanilla bean paste and mix. Combine the flour, salt and 3/4 tsp of purchased pumpkin pie spice (I like McCormick brand) in a separate bowl with a fork. Reduce the mixer to low and add the flour in two additions and mix until combined.

    2. Divide the dough into two portions, flatten into discs and wrap in plastic wrap. Chill for a least 8 hours or even up to one week. Unwrap one disc at a time and roll out onto a floured board into 1/8 inch thickness and cut into circles with a small cutter. Place onto a Silpat or parchment lined cookie sheet and chill for 30 minutes. Bake in a 350 preheated oven for 13-14 minutes or until light golden brown. Allow to  chill completely.

    3. Dip the tops of cooled cookies into glaze, then turn cookie vertical and allow excess glaze to drip down off cookies; run finger around edge to clean off edges then rest on a wire rack to allow glaze to set until no longer wet.

    Pumpkin Pie Spice Glaze

    1 Cup confectioners sugar +2 tsp.

    2 tsp. pumpkin pie spice blend (I like McCormick brand)

    2 Tbsp. warm water

    In a small bowl whisk to combine all the ingredients. Keep glaze covered while not using to avoid drying out. Re-whisk as needed.

  • Pumpkin Cannoli with Recipe for Homemade Ricotta Cheese

    Last year I attempted to make a pumpkin cannoli but my filling was too loose even with straining my ricotta cheese it wasn’t as thick as I wanted, so I took to the web looking at recipes for classic cannoli’s to see why. I found several Italian peeps saying the trick was to make your own ricotta cheese which results in a much drier version. I’ve never had an itch to make homemade ricotta until I watched various videos on YouTube. Wow, I was pleasantly surprised to find out how super easy it is; so I took to it, and I made just a small batch. As often in life I got busy/lazy and my ricotta ended up draining in the fridge for 2 days which I was not at all mad about, as it resulted in a nice thick almost cream cheese like consistency.

    Now- I know most bakers will not want to make their own ricotta, so note that you can still make it but make sure to let your purchased ricotta drain until as much of the whey has drained off. I like Polly-O brand ricotta cheese. To drain just line a strainer with cheese cloth and dump in the ricotta and place the strainer over a narrow but deep bowl and place in the fridge to drain.

    I admit I used pre made cannoli shells; I was lucky to find these cute mini shells from a local market where I live. I look forward to playing around in the future with making my own, but I don’t have cannoli tubes and I was more interested in knocking these out and playing around with the filling to get it just right.

    Pumpkin Cannoli Filling (this will fill enough mini cannoli for 12-13) 0r 6 standard size

    3/4 C homemade ricotta cheese (or strained ricotta cheese as per above)

    3 Tbsp. canned pumpkin puree

    3/4 Cup + confectioners sugar, sifted (depending on sweet you want your filling)

    1/2 tsp. pumpkin pie spice

    In a medium bowl place all the ingredients and using a silicone spatula gently mix to combine. Keep the mixture chilled until ready to use.

    Prepping cannoli’s:

    place a small amount of white chocolate chips in a bowl and microwave until melted.

    dip the ends of each end of the cannoli shells into the white chocolate and then dip into cinnamon sugar. Place the shells onto a sheet pain and let them firm up; about an hour. If you like, you can use finely chopped nuts of your choice such as pistachio or pecans instead of cinnamon sugar or do a mixture of cinnamon sugar and nuts, or even sugar and pumpkin pie spice. Make it your own.

    cinnamon sugar: mix 1/4 Cup granulated sugar with 1 scant Tbsp. cinnamon to combine.

    Place the pumpkin cannoli filling into a pastry bag and snip off the tip and fill each end of the cannolis. You can sprinkle some confectioners sugar over the top of the cannolis right before serving if you like.

    Homemade ricotta cheese:

    4 Cups whole milk (do not buy ultrapasteurized)

    3/4 Cup heavy cream

    1 tsp. kosher salt

    2 Tbsp. fresh lemon juice or distilled white vinegar (I used lemon juice)

    In a medium pot place the milk, cream, and salt and over low medium heat heat up the mixture SLOWLY until it reaches 200 degrees F, then immediately remove from the heat and stir in the lemon juice (or vinegar) and let sit for about 10-15 mins untouched. You will notice that the curds will float to the top. Line a strainer with double thickness cheese cloth and place over the same pot or a bowl. Let it sit at room temperature on the counter for about an hour. Then gather the cheese cloth and gently squeeze to remove some of the liquid; don’t worry about trying to remove all of the visible loose liquid; as the fridge time will remove the rest. Place the draining set up in the fridge overnight or as I did; for 2 days to let all the excess liquid /whey drain off. You will use 3/4 cup of the strained ricotta cheese for the filling recipe above; any excess enjoy spread on toast with a drizzle of honey or other various ways. Note; if you want a lot more; simply double the recipe.

  • A lot of (obsessive) thought went into the creation of this beauty. I wanted to make sure all the components of a mojito cocktail came through. The mint, the lime, and the rum all had to be there but not with one overpowering the other flavor. I a took a gamble on coming up with my variation of this cake and I even surprised myself on how well it came out. My friends absolutely went gah gah over it and it was made for one of my dear friends’ birthday. I make her birthday cake every year and we usually have a pool party at her house to celebrate. It was a huge hit. I wanted to find the perfect green flower to a adorn the top of the cake and keep the decorations to a minimum. When using fresh flowers there are a few different ways to keep them safe. I always start by washing my flowers gently and thoroughly with cool water, and let them dry in my Arizona hot patio until dry. I then wrap my stem generously with plastic wrap and poke the cake with the wrapped flower. There a product called Safety Seal by Ingenious edibles that is a food safe wax that you heat up in the microwave and then dip your flowers in it and wait for it to dry before you pierce the cake. You can also wrap your cleaned and dried flowers with floral tape as well. If I only have one main flower or two; I usually like to use the plastic wrap technique as I’m in the kitchen already and have plastic wrap readily at hand.

    I portioned out a bit of my buttercream and tinted with gel food colors two different tones to swish a quick tonal color after my final base coat of buttercream was done.

    I decided to use a mint and lime zested enhanced sugar as a final gentle pat along the bottom portion of my cake; I felt this really enhance the overall experience, as you can also smell it when presenting the cake, one notices the smell of a mojito. I also liked the gentle crunch or texture of the flavored sugar on just the bottom as when you are eating the cake you get that subtle texture and flavor. Overall I was so happy with how this turned out. I hope you try it! if you do make sure to tag me on Instagram with a photo of your cake!

    Enjoy!!

    Mojito Layer Cake {Lime, Mint, and Rum flavored cake}

    (4 layer 6 inch cake)

    2 1/2 C all purpose flour

    2 tsp. baking powder

    1/2 tsp. baking soda

    1 tsp. kosher salt

    3/4 C unsalted butter, room temp

    1 3/4 C granulated sugar

    2 limes, zested finely

    5 Lg. egg whites, room temp

    2 tsp. rum “bakery emulsion” (Lorann brand)

    1 tsp. butter vanilla “bakery emulsion” (Lorann brand)

    1/2 Cup sour cream, room temp

    3/4 C whole milk, slightly warmed

    1/4 C fresh lime juice

    2 Tbsp. finely chopped fresh mint leaves

    Before you start the cake make the rum simple syrup recipe below and set aside.

    Preheat the oven to 350 F. Prepare four 6 inch baking pans with greasing, pan spray or a thin spread of cake goup*. Line the bottom of the pans with a parchment circle. Note; you can change this recipe to a 3 layer cake if you want; you’d have thicker layers, and it would also just work as a two layer 8 inch cake as well; keeping in mind to watch and bake the cakes longer as necessary.

    *If you don’t know what cake goup is; it is a cake pan release mixture that you can whip up in your stand mixer which I will link here; the recipe is by Liz at The Sugar Geez Show website.

    In a bowl combine the dry ingredients; flour, baking powder, baking soda, and salt together and whisk to combine. Set aside.

    In a stand mixer bowl cream together the butter and sugar until light and fluffy; around 2 minutes. On medium speed with the mixer running, add in the egg whites a little at a time until combined; stopping occas. to scrape down the sides and bottom of the bowl. Add in the flavor emulsions until combined. In a liquid measuring cup combine the milk, sour cream, lime juice and whisk together with a fork. Starting with the dry ingredients add in a third of the flour mixture until combined, followed by half of the liquid mixture, and alternate starting and ending with the flour mixture. Stop and scrape down the sides and bottom of the bowl to mix with a spatula and un mixed bits. By hand fold in the chopped fresh mint leaves.

    Portion evenly the cake batter into your prepared pans. Tip; a great way to portion evenly without weighing on a scale is use an ice cream scoop and portion a scoop individually into each pan, but placing the pans in row on the counter; scoop into each pan one at a time until your have used up all the cake batter. Rap the pans gently on the counter once to release any air pockets. Place evenly in the oven and bake at 350 for about 23-24 minutes or until the cake just starts to release from the sides and a wooden toothpick returns clean or with a few moist crumbs.

    Place the pans on a wire rack and allow to cool until still slightly warm. Turn out onto the rack and let cool completely. While you make the buttercream. If you want- you can also make the buttercream a day ahead and rewhip with a paddle attachment to fluff up the buttercream.

    Side note: I recently found out by weighing my Fat Daddio 6 inch pans empty in grams; that they all weighed a bit differently they were not the same exact weight empty as one would expect. This is why I love the scoop method; and when I worked in a commercial bakery this is how we used to portion our cake batter when placing in cake pans.

    Vanilla “Easy Buttercream ”

    (recipe from the sugargeekshow.com website)

    (mock swiss meringue buttercream)

    24 oz. (680 g) unsalted butter, room temperature.

    24 oz. (680 g) powdered sugar sifted if not from a bag

    2 tsp. clear vanilla extract

    1/2 tsp. salt

    6 oz. (170 g) pasteurized egg whites room temperature

    Place egg whites and powdered sugar in a stand mixer bowl. Attach the whisk attachment and combine on low and whip for one minute until cohesive. Note; you don’t need to whip it to a meringue stage. Add in the vanilla and salt and combine.

    Add in the butter by generous tablespoons at a time and whisk until combined. It may look curdled but that is normal , just keep whipping it until it comes together and looks smooth. I stop and scrape down the bowl from time to time as I go. Switch to the paddle attachment and mix on low for 15-20 minutes to make it super smooth and remove any air bubbles. This isn’t required but if you want a really creamy frosting, you can choose to do this. I personally don’t but it’s part of her recipe notes.

    Portion out 6 ice cream scoop size of the buttercream in a medium bowl. This will be for flavoring the lime buttercream filling portion of the cake.

    Lime Buttercream Filling

    6 ice cream scoop sizes of the vanilla buttercream from above

    1 tsp. fresh lime juice

    2 limes zested finely

    Mix the components together until combined and set aside until ready to assemble the cake.

    Rum Syrup

    3/4 C granulated sugar

    3/4 C scant of water

    2 Tbsp. golden rum

    In a small saucepan bring together the sugar and water to a boil until the sugar dissolves. Add in the rum off the heat and let sit until ready to use.

    Mint~Lime Sugar Mix

    1/4 C granulated sugar

    1 lime zested (~ 1 tsp. of zest)

    1 Tbsp. finely chopped fresh mint leaves

    In a small bowl place the sugar and the zest and lime and with your finger tips rub the mint and lime into the sugar to release the oils and flavor the sugar. Set aside at room temp until ready to decorate the cake.

    Cake Assembly:

    Place a small dollop of buttercream onto a cake drum or cake board that you will be serving on. I suggest a cake drum as the cake is heavy and you’ll want something sturdy for the cake to be on.

    Brush each top side of a cake layer twice with the rum syrup, and the bottom of each cake layer once. Place one layer of cake onto the cake drum and fill with 2 scoops of the lime flavored buttercream and level evenly. Repeat with the process with the next two cake layers. Top off with the last cake layer and spread a small crumb coat layer of buttercream ; either with the lime or vanilla doesn’t really matter. Spread a crumb coat layer of vanilla buttercream on the sides of the cake and place the cake in the fridge to chill until firm. Finish spreading a final vanilla buttercream layer onto the chilled cake.

    Portion out a small amount of buttercream if you want like I did for 2 different colors of green.

    For the green colored buttercream: I used electric green gel colors Americolor, and mint green for the other color until desired color reached.

    Spread a thin layer of darker color green along the bottom of the cake and the lighter green along the top half of the cake and spread until smooth. Chill the cake until the green color is mostly firm but not super tacky. Place the mint lime sugar along the bottom of the cake drum and with your hand scoop up and press with the help of an offset spatula onto the bottom portion of the cake; going up about 2 1/2 inches worth.

    I had some buttercream leftover and used to tint one more darker color with the mint green and placed on a piece of plastic wrap the 3 colors next to each other and rolled the plastic together into a log and placed in a piping bag fitted with a large open star tip to place a row on top of the cake and a few pressed flowers onto the sides of the cake. I think it was a large 1M tip. tbh I don’t remember. I sprinkled Just a tiny bit of some extra lime mint sugar on top of the stars on the top of the cake.

    Serve the cake at room temperature so the buttercream does not taste like a hunk of butter; this is key when serving with this type of buttercream.

  • People laugh at me when I say I make my own Birthday Cake, but it’s something I love doing, and have done for several years now. There’s a certain calmness knowing you don’t have to worry about if the decoration is perfect, or the flavor is not something someone else doesn’t quite like, because well; it’s all about me. I kept the decoration pretty simple, and attempted a quick curtain drip, but suddenly realized I was too skimpy on the amount, so it didn’t quite fall the way I intended, but none the less, it tasted good. I’m not usually a huge fan of peanut butter flavor, but the filling on this has some peanut butter in the buttercream because to capture that peanut butter nougat flavor it requires tossing in some peanut butter. The peanut butter buttercream then gets a generous squeeze of caramel and finally topped off with some chopped lightly salted peanuts to complete the filling layer. The chocolate buttercream on the chocolate cake just seals the deal.

    My go to chocolate cake recipe is simply the perfect chocolate cake on the back of the can of Hershey’s cocoa except I change the boiling water to strong hot coffee instead; been using this recipe for years and it never fails. You don’t even need to use the stand mixer for it; I just simply whisk the batter by hand with a large whisk.

    Chocolate Cake

    yield: (3 layer 6 inch )

    1 3/4 Cup Flour

    2 Cups Sugar

    3/4 Cup Hershey’s cocoa powder, sieved

    1 1/2 tsp. baking soda

    1 1/2 tsp. baking powder

    1 tsp. kosher salt

    1 Cup milk, warmed to room temp or slightly warmer

    2 eggs, room temperature

    1/2 Cup vegetable oil

    1 Cup very hot coffee

    2 tsp. vanilla

    Preheat oven to 350 degrees F. Grease and flour three 6 inch cakes pans. Warm the milk in the microwave if it’s not at room temp, and set aside. In a large mixing bowl whisk together the flour, sugar, cocoa powder, baking soda, baking powder, and kosher salt. Whisk in the milk until combined, then stir in eggs along with the oil and whisk vigorously until combined. Using the same whisk stir in the hot coffee and vanilla until batter is smooth. The batter will be very thin. Divide batter into equal parts into the 3 pans. Bake at 350 degrees for approx. 26 mins or until a skewer inserted reveals a few moist crumbs. Depending on your oven; you may want to rotate your pans half way through for even baking. Do NOT overbake or cake will be dry. Allow cakes to cook in their pans over a wire rack until cooled.

    Chocolate Swiss Meringue Buttercream

    4 lg egg whites

    1 Cup sugar

    pinch of kosher salt

    3 sticks unsalted buttercream

    1 tsp. vanilla bean paste or vanilla

    4 oz. bittersweet chocolate, melted but cooled slightly

    Prepare a bain marie and place the egg whites, sugar, and salt in the bowl of your stand mixer (I have a Kitchen Aide); so if your bowl doesn’t fit over a saucepan place a metal or glass bowl over your pan that allows it to fit without touching the water in the pot. Place the mixer bowl over the bain marie and heat the mixture until it reaches 160° F. Take off the heat place on the mixer with whisk attachment until you reach a stiff meringue. Add in the butter 1 tablespoon at a time until fully incorporated, then mix in the vanilla, and finally the melted but sl. cooled chocolate. Change to a paddle attachment and mix until smooth to remove any air.

    Peanut Butter Swiss Meringue Buttercream

    3 lg egg whites

    3/4 Cup sugar

    pinch kosher salt

    8 Tbsp. unsalted butter

    5 Tbsp. smooth peanut butter (don’t use natural style) I used Jif brand.

    1 tsp. vanilla

    Using a bain marie set up, place the egg whites, sugar, and salt in a large heat proof bowl to a temperature of 160 degrees F, whisking continuously. Remove from the heat, and whisk until you have a stiff meringue and then add in the butter and peanut butter until the mixture comes together. Add in the vanilla and beat to combine.

    additional items needed for filling:

    Store bought thick caramel sauce (I used Trader Joes salted Caramel sauce)

    Coarse chopped reduced salt peanuts

    Snickers candy bar, chopped into small pieces

    To assemble the cake:

    Place a cake layer on a cardboard round and pipe a ring (dam) of the chocolate buttercream along the edge of the cake. Place a couple scoops of the peanut butter buttercream filling and smooth to an even layer within the dam of chocolate buttercream. Spoon a generous amount of the (slightly warm ) (warm it just enough so that you can spoon it) caramel over the buttercream (you don’t have to completely cover it with caramel, but spoon a generous amount), and top with a couple hand fulls of coarsely chopped salted peanuts. Top or pipe with a small layer of peanut butter buttercream on top; enough to keep the caramel from soaking into the next cake layer; this will ensure when you cut into the cake the caramel will be visible. Repeat the filling with the next layer of cake, then top with the third and final layer of chocolate cake. Crumb coat with the chocolate buttercream chill until firm, then finish with a final coat of chocolate buttercream. If using a ganache on top chill the cake at least a hour before topping with the ganache.

    Top with an optional layer of chocolate ganache. Or decorate as desired.

    For ganache: In a heat proof bowl, place 1/2 Cup of bittersweet chocolate chips and pour over 1/2 Cup of scalded heavy cream. Stir until combined then wait about 3 minutes before pouring over the cake after the cake has been chilling for at least 60 minutes. Using an offset spatula smooth the ganache over the top and allow to drip down the cake. Full disclosure, it didn’t use all of my ganache; I used too little amount and that’s why my drip did not go down the cake far enough. Top with chopped pieces of Snickers candy bar.

    Snickers Chocolate Cake